
I mimic the StreamDeck with an old device, at that point useless, Amazon Fire 8 tablet
Motivation
I saw someone has a stream deck, then I looked into Play Store for StreamDeck like apps. I find some results, and I choose Deckboard.
I have old hardware stored around the house, I normally try to bring new uses to old stuff, don’t like to throw away working hardware. I choose my Amazon Fire 8 it is based on Android 5.1.1; not even the official YouTube app is working, so at this point it is just a screen. I thought a perfect choice to try to use as a StreamDeck clone on this.
Why Deckboard?
The choice on Deckboard main reasons are:
- It supports my hardware officially: Amazon Fire 8 (7th Gen, 2017)
- Multi-platform server side support (Windows, Mac, and Linux, including 64 and 32-bits support). The Linux 32-bit support is useful for devices like RaspberryPi.
- Extensible using Javascript
- Ready to use commands for Media controls, OBS, Streamlabs, Twitch, Spotify, and Discord (with an extension)
- Extension “Command,” it allows running any custom command in server side.
- Connectivity all local, over Wi-Fi or USB, no cloud BS (It’s funny, but nowadays, it’s a feature).
Download software
I leave the free client links below, as far as I know, the only limitation of the free version is the grid customization, to create the PoC is more than enough, even if you don’t need to customize the grid, five dollars is less than a StreamDeck, so I did happily pay for the pro version.
For server binaries, I strongly suggest to go to https://deckboard.app .
Android Versions
At the time of writing, current version of Deckboard (2.1.1) requires Android 5.0+ (Lollipop), if you have an older 4.4+ (Kitkat) device you should look for the version 1.9.94.
There are plenty of sites that stores older APKs to download, I don’t leave any link to any specific site because I cannot verify or certify the APK
My suggestion to put in your search engine the following: “Deckboard 1.94.94 APK download”
Connecting the client to server
After you installed and launched both sides (server and client), you have to connect the client to server. There are two ways to do that using Wi-Fi, and using USB; both have pros and cons.
You will find in the client screen something like this:

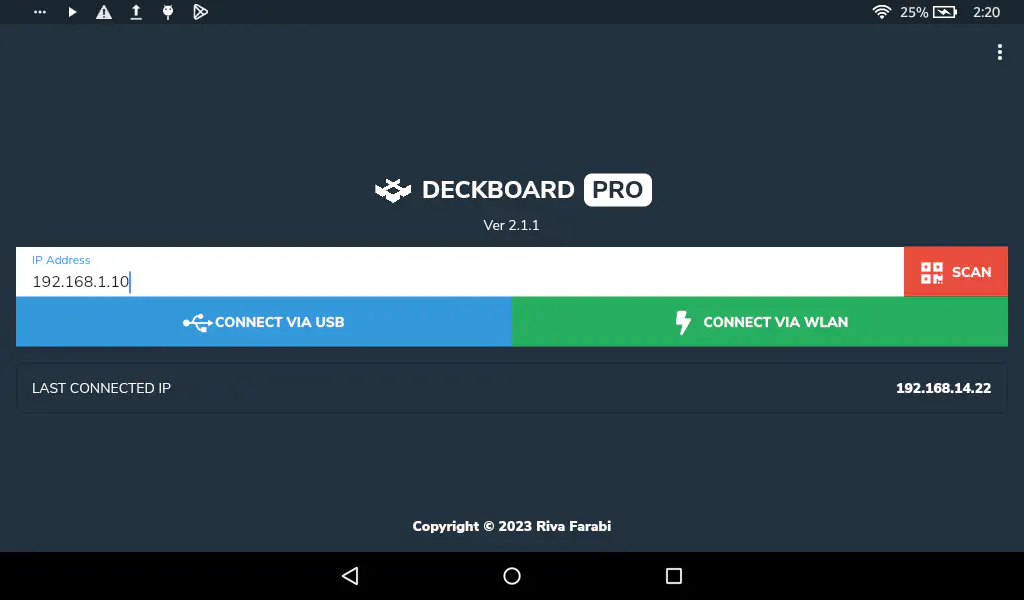
Choosing your type of connection
Over Wi-Fi pros:
- Over Wi-Fi is easy to connect, you need to be connected to the same Wi-Fi network.
- Freedom to disconnect the USB cable anytime without losing connection to the server.
Over Wi-Fi cons:
- Depending on how your network is configured, your local IP might change from time to time
- If IP changes, you will have to reconnect specifying the new IP.
Over USB pros:
- Once you configure your device, it will always connect.
- If you have a broken Wi-Fi adapter, it will work anyway.
Over USB cons:
- You need to enter in developer options of the android device and enable USB debugging.
- You need Android ABD installed in your server operating system.
- You need to be connected to USB all the time.
Connecting over Wi-Fi
In your server screen, you will find your local IP address clicking on the Wi-Fi icon top right:
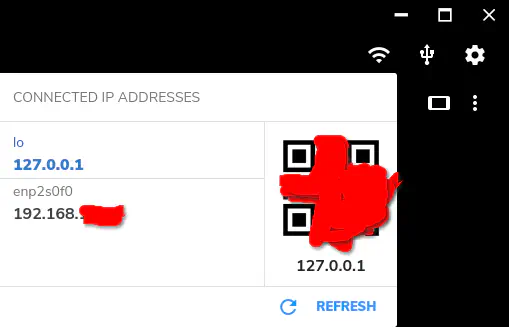
You can write it manually or use camera to scan QR code to connect.
Connecting over USB
You should turn USB debugging on your device.
Enable debugging on Amazon devices
On Amazon Fire tablets, you should go to Settings > Device options > About Fire Tablet, and then tap in your serial number seven times. Then return to Device Options, and you will find a new menu called “Developer options.” Go there and enable “USB Debugging.”
Enable debugging on non-Amazon devices
Android devices you have to look for the serial number, it should be configuration > system or about menus. Once you find the serial number, tap the serial number until a toast pops up and notifies you “developer options are enabled” or something in those lines, then enter on this new menu “Developer options” and enable “USB Debugging.”
Install ABD
This may vary between operating systems, the binaries to download are here.
https://developer.android.com/tools/releases/platform-toolsNo matter which platform you are using, make sure adb binary is inside your system PATH. In many linux distributions, adb is part of the android-sdk package.
After you installed adb, and added to the system path, close Deckboard server application, make sure it is not running in the background or system tray, and then open it again.
Now click on the icon top right of the Deckboard window with a USB icon, and you should see a device there
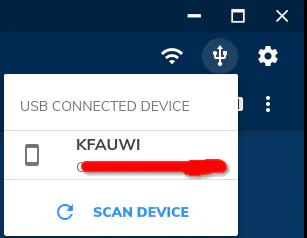
If you don’t, try to disconnect usb device, wait 2 seconds, and reconnect it again.
Connected!
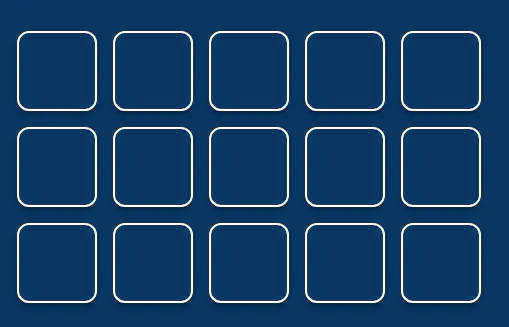
If successfully connected, no matter which route you picked, you will see on the device screen an empty board like this
(the size of the board can vary between devices):
How to use Deckboard
Everything has to be configured on the server side.
In my opinion is a must to download the extension to run custom commands “Command”. If you know how, you can do anything with it.
For more information on how to use this program, check its Wiki, it’s not very detailed, but it is enough, its simple program anyway.
https://github.com/rivafarabi/deckboard/wikiAdditional suggestions
To avoid local IP change when you are connected via Wi-Fi local IP, you can do the following:
- Use router using DHCP reservation if it has the feature, use it, and assign static IP using MAC address.
- Define a static local IP in your operating system network configuration to ensure your local IP never changes.
Is not possible explain the steps how this is done, because every brand and every device can present these options very differently, if they have them.
Special Thanks
To Lean, to point me the scenario of even older version of Android (4.4+)
Thanks for reading!
Namaste.